Simscope in Docker (or Kubernetes / k8s)
Note: this is an alternative installation flow, for groups who want a simpler administration of Simscope.
Simscope, Tunnel, and RabbitMQ can all be run within Docker containers.
- This enables a convenient method to configure and install the services.
- As opposed to running in Linux Virtual Machines, or bare metal servers.
Docker Services
Simscope's Docker flow includes 3 services (ie 3 containers):
- RabbitMQ server (dependency)
- Tunnel server
- Simscope server
Directory Tree
Here is what the Simscope docker/ directory tree looks like:
├── Makefile
├── config
│   ├── simscope-tunnel.config
│   ├── simscope.config
│   └── simscope.env
├── docker-compose.yml
├── example-json
│   ├── example-job-fail.json
│   ├── example-job-pass.json
│   ├── example-regr-update.json
│   └── example-regr.json
├── releases
│   └── README.txt
├── simscope
│   ├── Dockerfile
│   ├── Dockerfile.jira
│   └── bin
│       └── simscope.sh
└── tunnel
    ├── Dockerfile
    └── bin
        └── tunnel.sh
Installation
To configure Simscope Docker:
-
Download and untar
simscope-docker.tar.gz -
Copy your Simscope license file to the
config/directory. -
Download Simscope and Tunnel gzips into the
release/directory.- NOTE: you do not need to
untarthese gzip files.
- NOTE: you do not need to
-
Edit
config/simscope.env
# Simscope Docker configuration/environment

# Host HTTP port for Simscope web
SIMSCOPE_WEB_PORT=8081

# Simscope external URL (outside docker): displayed in email links
SIMSCOPE_EXTERNAL_URL=http://docker-hostname:${SIMSCOPE_WEB_PORT}
# Alternate URL format (SSL)
# SIMSCOPE_EXTERNAL_URL=https://docker-hostname:${SIMSCOPE_WEB_PORT}

# Simscope license key file
SIMSCOPE_LICENSE=your-company-name.lic

# Simscope release filename (gzip)
# Note: use a *symlink*, so this can be upgraded without changing the config file.
SIMSCOPE_RELEASE=simscope-latest.tar.gz

# Tunnel release filename (gzip)
# Note: use a *symlink*, so this can be upgraded without changing the config file.
TUNNEL_RELEASE=tunnel-latest.tar.gz

# Set Rabbit password (instead of guest/anonymous)
RABBITMQ_DEFAULT_PASS=password

RABBITMQ_NODENAME=rabbit

RABBITMQ_URL=amqp://guest:${RABBITMQ_DEFAULT_PASS}@${RABBITMQ_NODENAME}:5672/
Change the following variables:
SIMSCOPE_WEB_PORT→ set to the port you want to host Simscope externallySIMSCOPE_EXTERNAL_URL→ set to the local machine's hostname or IP addressSIMSCOPE_LICENSE→ filename of your license fileRABBITMQ_DEFAULT_PASS→ (optional) to change the RabbitMQ password
Note: see the Upgrade notes below, to download/symlink Tunnel/Simscope binaries.
Docker Volume (ReadWriteOnce)
If hosting Simscope within Kubernetes volumes, you must ensure your Persistent Volume is configured with atomic access to the volume.
Set the volume accessMode to:
ReadWriteOnce- (do not use the default of
ReadWriteMany)
Example PersistentVolumeClaim with ReadWriteOnce ✅:
apiVersion: v1
kind: PersistentVolumeClaim
metadata:
  name: simscope-db
spec:
  accessModes:
    - ReadWriteOnce
  resources:
    requests:
      storage: 25Gi
reclaimPolicy: Retain
volumeBindingMode: Immediate
Docker Volume Snapshots
You must maintain snapshots in Docker, in case the pod is destroyed.
Example:
apiVersion: snapshot.storage.k8s.io/v1
kind: VolumeSnapshot
metadata:
  name: new-snapshot-test
spec:
  volumeSnapshotClassName: csi-hostpath-snapclass
  source:
    persistentVolumeClaimName: pvc-test
Docker Mountpoints
The Simscope and RabbitMQ containers inside of Docker store data into mountpoints (volumes), so that data can be restored when the containers restart.
- Note: you should back up these mount points daily, in case of machine or disk/volume failure.
Running Containers
Simscope Docker services are launched from the included Makefile .
- This uses the
docker composeflow.
Just run:
> make run
This will download the container dependencies and start all 3 containers.
After compiling, this should take around 30 seconds to start.
If successful, you should see a message similar to this:
docker-simscope-1  | [INFO ] ────────────────────────────────────────────────────────────
docker-simscope-1  | [INFO ] Simscope version=1.471 build=2024-03-02 pid=1
docker-simscope-1  | [INFO ] Serving HTTP url=http://docker-hostname:8081 local=http://docker-hostname:80
docker-simscope-1  | [INFO ] ────────────────────────────────────────────────────────────
In your local web browser (outside of Docker), open the URL and you should see a Simscope login web page:
http://docker-hostname:8081
Note: the initial admin password will be printed to the Docker terminal. Here is an example:
docker-simscope-1  | ────────────────────────────────────────────────────────────
docker-simscope-1  | admin account issued new password: ABCDEFGHIJ
docker-simscope-1  |
docker-simscope-1  |         → Go to the [Change Password] page in your browser to change this passw
ord.
docker-simscope-1  | ────────────────────────────────────────────────────────────
- You can log in and change the
adminaccount password afterward.- If you need to reset the
adminpassword, see instructions here.
- If you need to reset the
Simscope Docker configuration
This flow includes basic config/simscope.config
and `config/simscope-tunnel.config files.
You should customize yours to set up:
- Project names
- Default branches
- Server timezone
- Administrator email address
- Job categories
- SMTP email
- Optional configuration
- LDAP/OIDC authentication
- Bug tracker
- Source control diff
- Regression plugins
- Signature classifications
- Job metadata
- etc.
Stopping Docker
To stop the Docker services, you can Ctrl-C from the terminal.
Upgrading Simscope/Tunnel Releases for Docker
To upgrade to a new version of Simscope or the Tunnel within a Docker installation:
- Download new
tar.gzfiles into thereleases/directory. - Symlink the
gzfile:- For Tunnel →
tunnel-latest.tar.gz - For Simscope →
simscope-latest.tar.gz
- For Tunnel →
- Start Docker again:
make run.
Publishing JSON Data to Simscope outside of Docker
Once Docker is running, you can publish to it from any Linux machine on the same network as your Docker instance.
In other words, you can communicate from:
- Linux (client) → Docker (server)
You just need the Tunnel downloaded outside of Docker into a shared Linux directory.
To publish a Regression start JSON from Linux into Docker RabbitMQ:
> path/simscope-tunnel --config=simscope-tunnel-local.config --publish=regr-start \
example-json/example-regr.json --regression=smoke/123
- Note the
simscope-tunnel-local.configfile needs an AMQP path of the Docker hostname where Simscope is running and the RabbitMQ password credentials
Test Publish into Docker
There is a test regression you can publish to Simscope Docker, to check if your configuration is working.
From Host Linux (not from the Docker container):
- Edit
docker/Makefileand change this line to your local Linux tunnel path:
TUNNEL_PATH := /PATH/to/bin/simscope-tunnel
Note: this is the same tunnel as within Docker, except it is used in client-mode, to publish JSON to RabbitMQ.
- Run this command:
Note: set
RABBIT_URLto the URL of your Docker Rabbit URL
> RABBIT_URL=amqp://guest:password@localhost:5672/ make simscope-test-rabbit-publish
If successful, you should see terminal output similar to this:
[DEBUG] Enabled debug logging mode
[DEBUG] Commandline: [/PATH/TO/simscope/bin/simscope-tunnel --config=config/simscope-tunnel.config --regression=smoke/131 --debug --publish=job-finish example-json/example-job-fail.json]
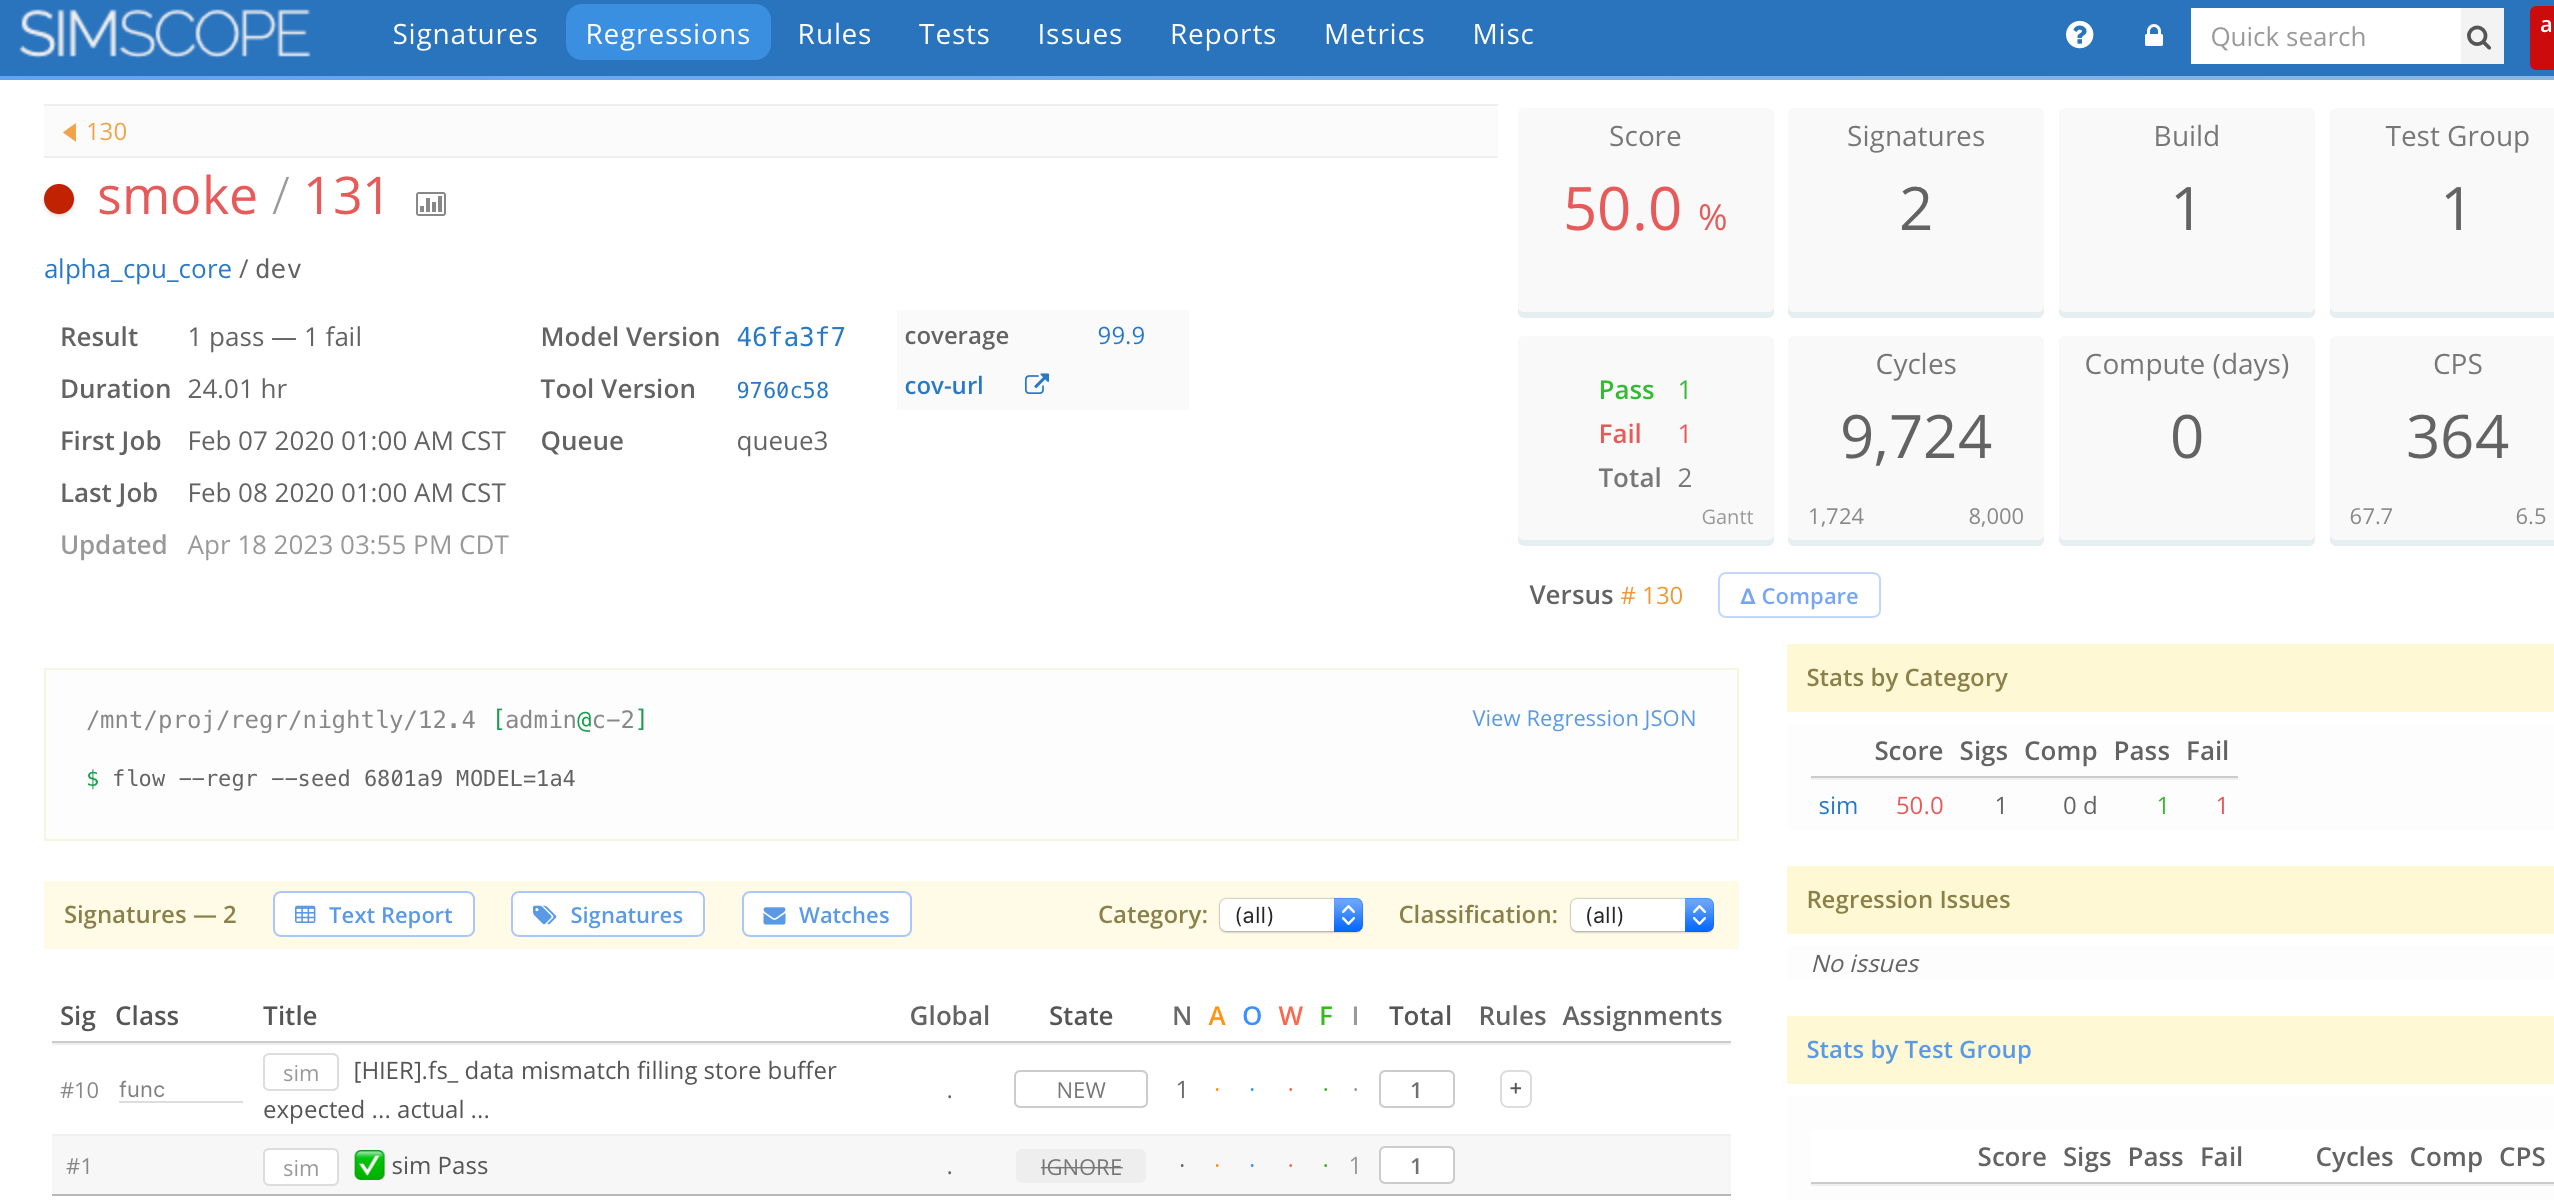
And if everything worked correctly, Simscope should have a test regression in the web page:
List Containers
To list active docker containers, use docker ps:
pdq@quackbook-pro ~/sc $ docker ps
CONTAINER ID   IMAGE                               COMMAND                  CREATED         STATUS          PORTS                                                                                                         NAMES
8109f4913c1d   docker_simscope                     "bin/simscope.sh"        8 minutes ago   Up 30 seconds   0.0.0.0:8081->80/tcp
Interactive Container Debug
To debug a docker container, you can start an interactive shell session on it via docker exec.
Here is an example, running whoami interactively:
> docker exec -it <CONTAINER_ID> bash

> root@8109f4913c1d:/simscope# whoami
root

> root@8109f4913c1d:/simscope# exit
- Type
exitto exit out of the container shell session.